DIY ice dyeing

As you may have noticed, I really enjoy dyeing of any kind; natural dyeing, tie-dye or a combination of both! Recently I came across a new technique called ‘ice-dyeing’. The process involves placing ice on top of fabric and sprinkling dye over the ice, as the ice melts the dye seeps into the fabric creating beautiful organic patterns. It’s very easy and fun to do, producing unique and exciting results every time! I wanted to share the method with you, so you can have a go at home too.
You’ll Need
Bucket
1/2 a packet of Dylon Hand Dye (I’ve used Ocean Blue here)
Ice, about 3 ice cube trays full
A Wire Rack
Fabric (I used 1/2 a metre)
A Dust/Face Mask

A few notes before starting
You can use multiple dyes at the same time which achieve some very cool patterns! The colours will mix and blend together as the ice melts, so keep that in mind when choosing your colours to avoid disappointment. For example a blue and red dye will make purple when they mix together. You’ll have some ares of blue, red and then purple where they’ve mixed.
You can only use powder dyes, liquid dyes will not work with this technique.
Set up your bucket on some grass - the dye might run, so be careful sitting it on any paving. Lay the wire rack over the bucket like so.


2. Wet your fabric, run it under a cold tap to soak the fabric throughly.
3. Lay your fabric over the wire rack and use your fingers and thumb to pinch the fabric and gather it up. Work from the centre out and go slowly. This doesn’t need to be perfect, it will just help to create more interesting patterns from the dye. Try and keep the fabric over the bucket as this will stop any dye from spilling over.


4. Lay your ice on top of the fabric, you want to completely cover the area.


5. Put on your mask and pour half the contents of the dye packet over the ice. You want to cover the ice with the dye.
The more you use, the bolder the colour.
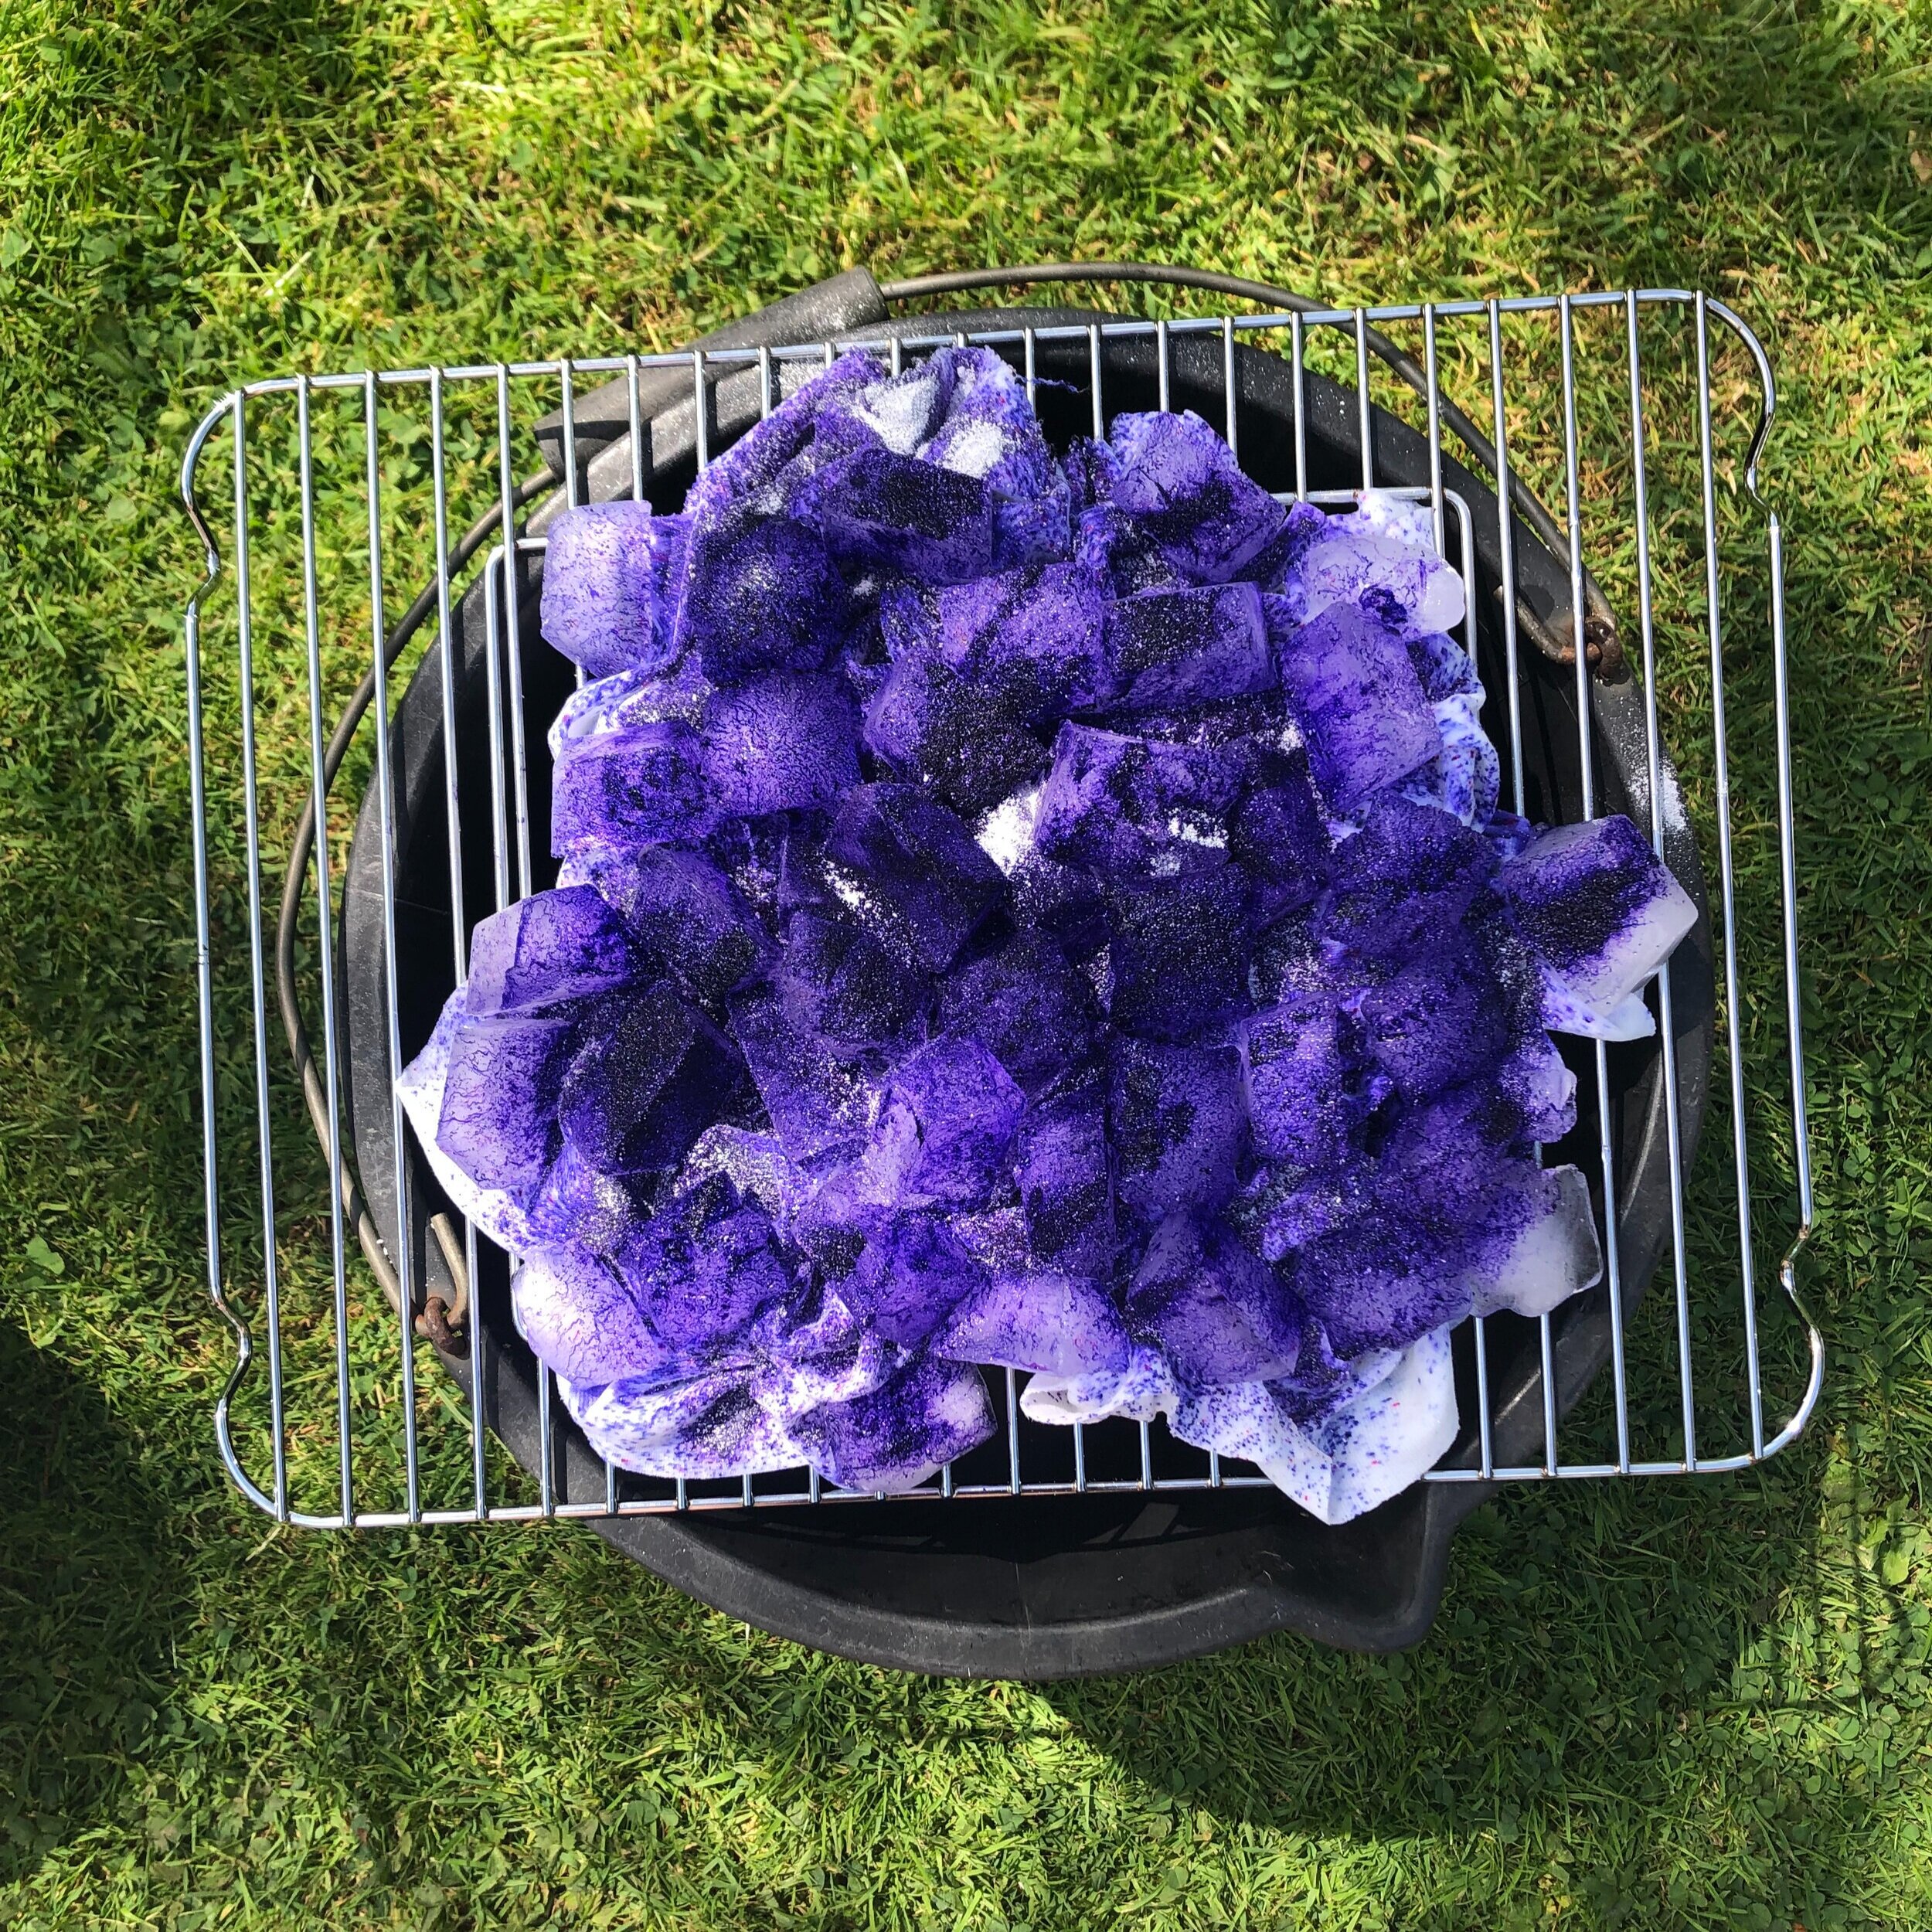
6. Patiently wait for the ice to melt…if you do this on a nice sunny day it’ll melt nice and quickly!


7. Once all the ice has melted you can take the fabric off the wire rack and check out the fun patterns the dye has created! You don’t want to move the fabric until all the ice has melted as it may affect the dye patterns, patience is key here!


8. Rinse the fabric under a cold tap, until the water runs off clear.


9. Pop it in the washing machine on a quick cool wash. I have a cycle that’s 15 minutes at 30 degrees and that’s perfect.
10. Leave to dry and you’re all done!


